The Beginner's Guide to Winter Sowing
What is winter sowing and how does it work?
What is winter sowing?
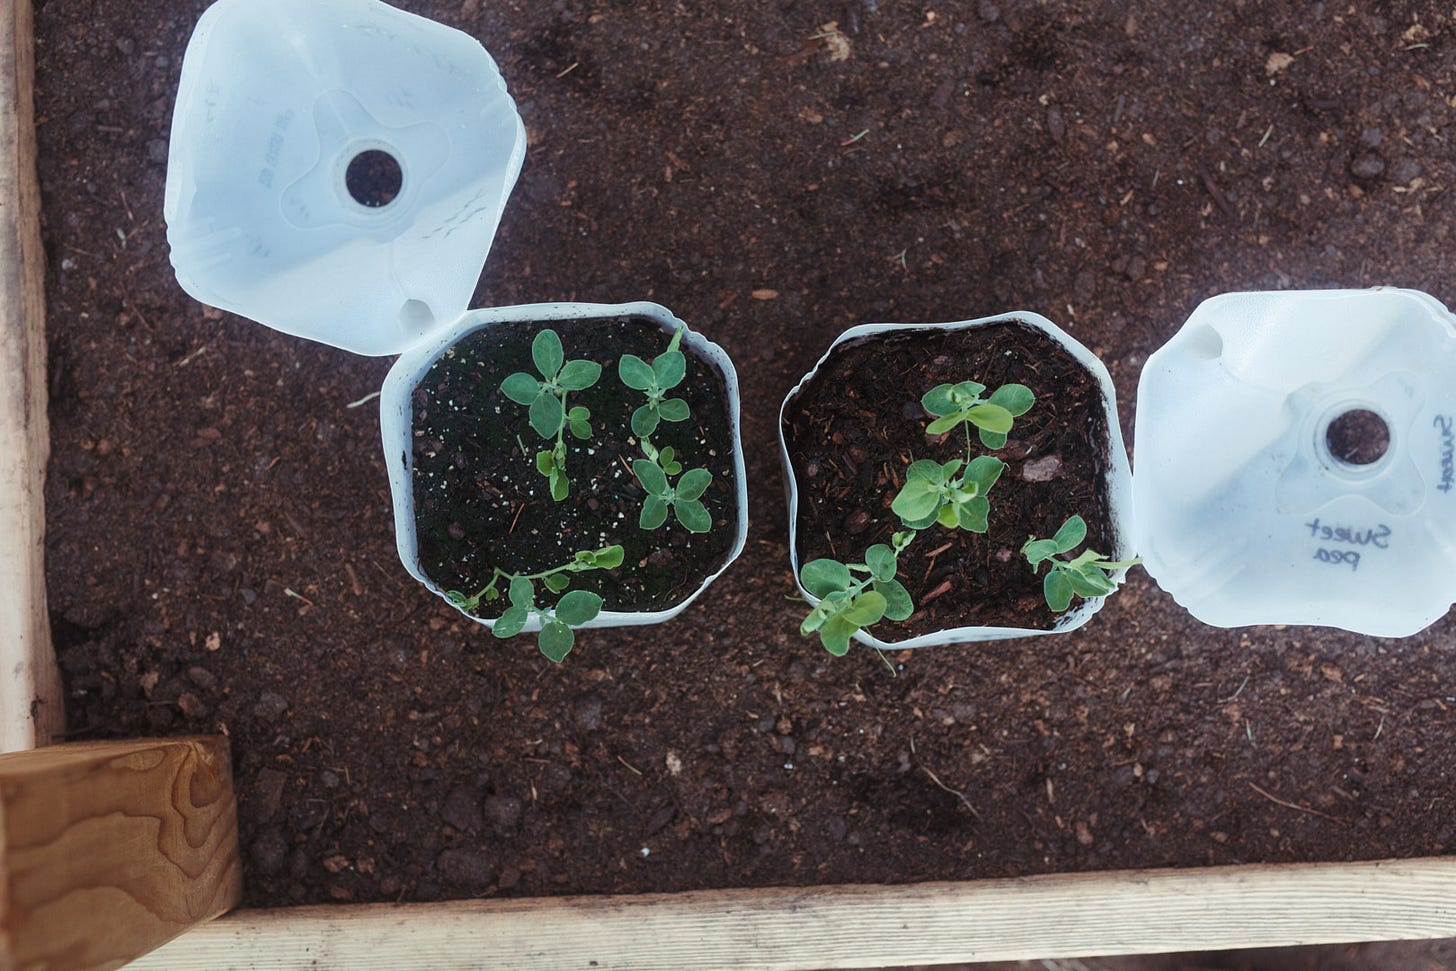
Winter sowing is an easy and economical seed starting method. In this method, recycled containers (like milk jugs) are used to create mini greenhouses for seeds to germinate and grow outside before the last frost date.
Winter sowing essentially models the same pattern seeds take in nature. That is, scattered on the ground—some going into a state of dormancy, followed by a freeze-thaw cycle—and when conditions are right, germinating.
In this method, rain and snow is collected through the opening of the jug, and drains through holes at the base. When temperatures start to rise, this creates a warm and moist greenhouse environment. As a result, germination typically occurs several weeks before the last frost date and seedlings are protected and warm, even when outside temperatures drop significantly after initially starting to rise. This process results in mature and robust seedlings that are already acclimated to the outside elements and ready for transplant when growing conditions are right.
There are so many benefits to using this method over other seed starting methods, but in short, winter sowing is a great option if you are wanting to grow your garden from seed or if you just want a head start on your growing season at a low startup cost.
What supplies are needed for winter sowing?
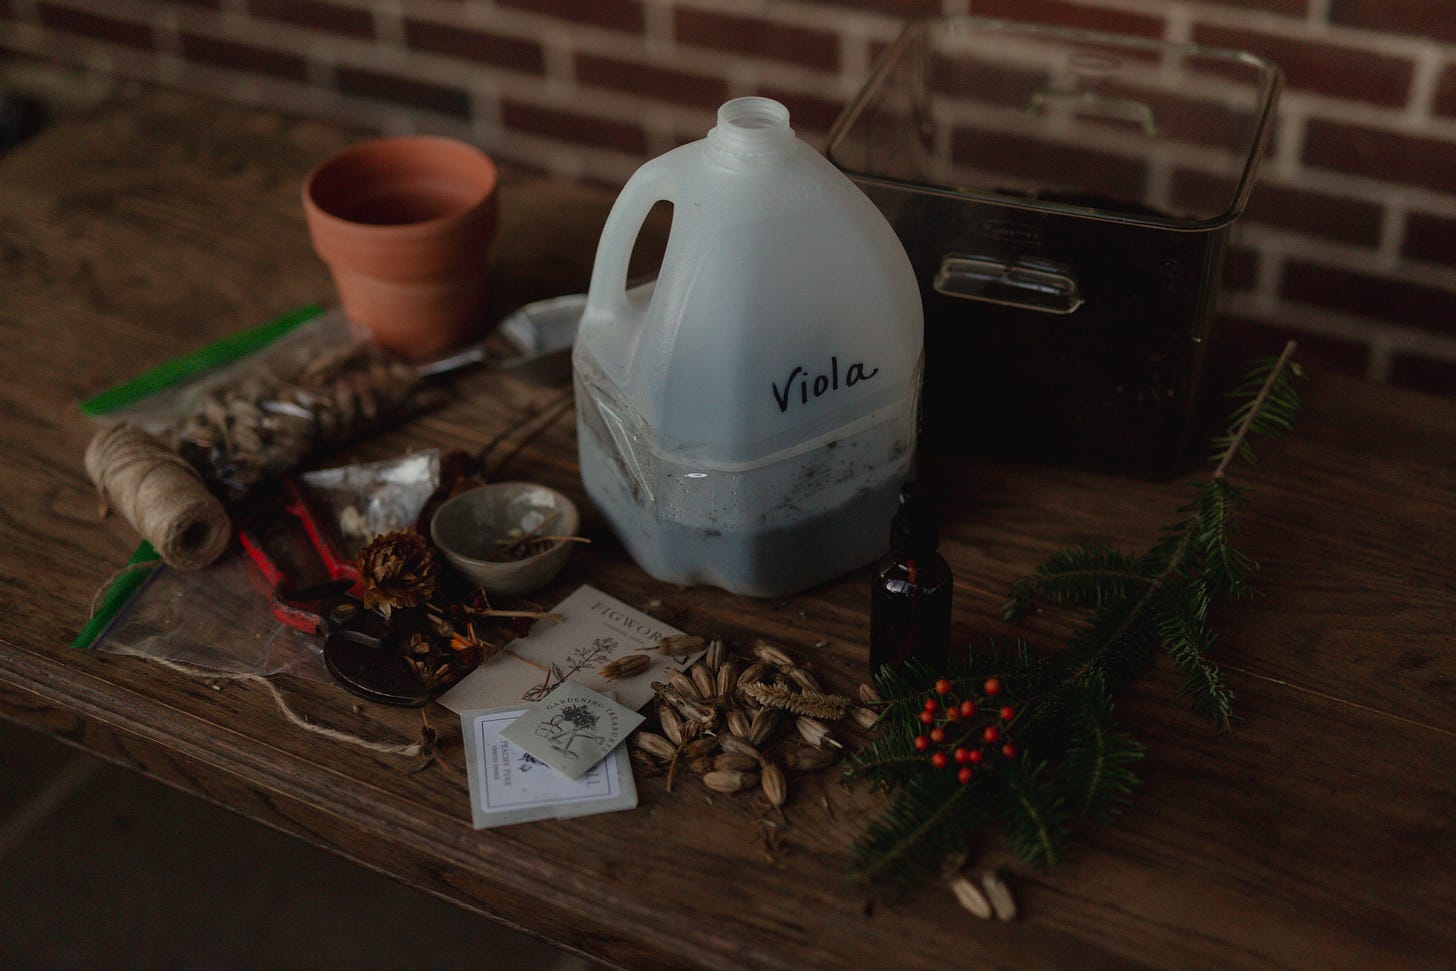
Winter sowing is an ideal seed starting method as most of what you’ll need, you likely already have:
Translucent or transparent plastic containers
Milk jugs became the gold standard for winter sowing, but container options don’t end there. Any gallon jug will work—but really any container that allows light to pass through all sides—with vertical space—can be used. While I primarily like to use gallon jugs, some alternative options are:
take-out containers
half gallon jugs
vinegar jugs
juice jugs
2 liter pop bottles
water bottles
plastic tubs and storage containers
A cutting tool
To prepare, you’ll be cutting the jug and applying drainage holes at the base. You can get as creative and efficient as you want here. For cutting, a utility knife or box cutter works really well. For applying drainage holes, the same can be used but a drill or hot glue gun will make container prep very efficient.
Small hand spade
Potting mix
What you’re trying to achieve in your containers is a balance of moisture drainage and moisture retention; really most any potting mix should work just fine. You can also use potting soil but it needs to have really good drainage.
Soil mediums to avoid:
Starting mix — starting mix lacks the compost nutrients needed.
Garden and top soil — these soils will be too dense and will prevent proper drainage. They are also both devoid of nutrients.
A designated growing area outdoors
In order for your seeds to germinate and develop into seedlings, they will need access to soil, water, and light. For water, place the jugs in an area where snow and rain will easily accumulate inside the container. As for light, they’ll need to be in an area that is part shade to full sun—the main thing to keep in mind here is that they will need access to direct sunlight in order to grow. Contact with the soil, mulch, or in a raised bed is ideal. For areas where slugs are an issue, place the jugs on gravel or dry areas where slugs are less likely to thrive.
Labeling materials
Some tried and true means for labeling include a sharpie marker, a paint marker, or a plant tag inside the container using a waterproof pen. What you’ll want to keep in mind here is that your jugs will be exposed to all the elements outside throughout the winter and early spring, so you’ll need to use something that can withstand a lot of moisture and sun exposure.
Spray bottle
Seeds
Tape
How to winter sow:
For the purpose of this guide, these instructions are intended for those using gallon milk jugs or similar containers. The principles can be applied to other kinds of containers.
Collect jugs
If you don’t use gallon jugs in your everyday life, here are some ideas for finding them:
Ask neighbors and friends.
Put out an ask on social media.
Ask local coffee shops for their recycled milk jugs.
Visit your local recycling center.
Prepare jugs for winter sowing
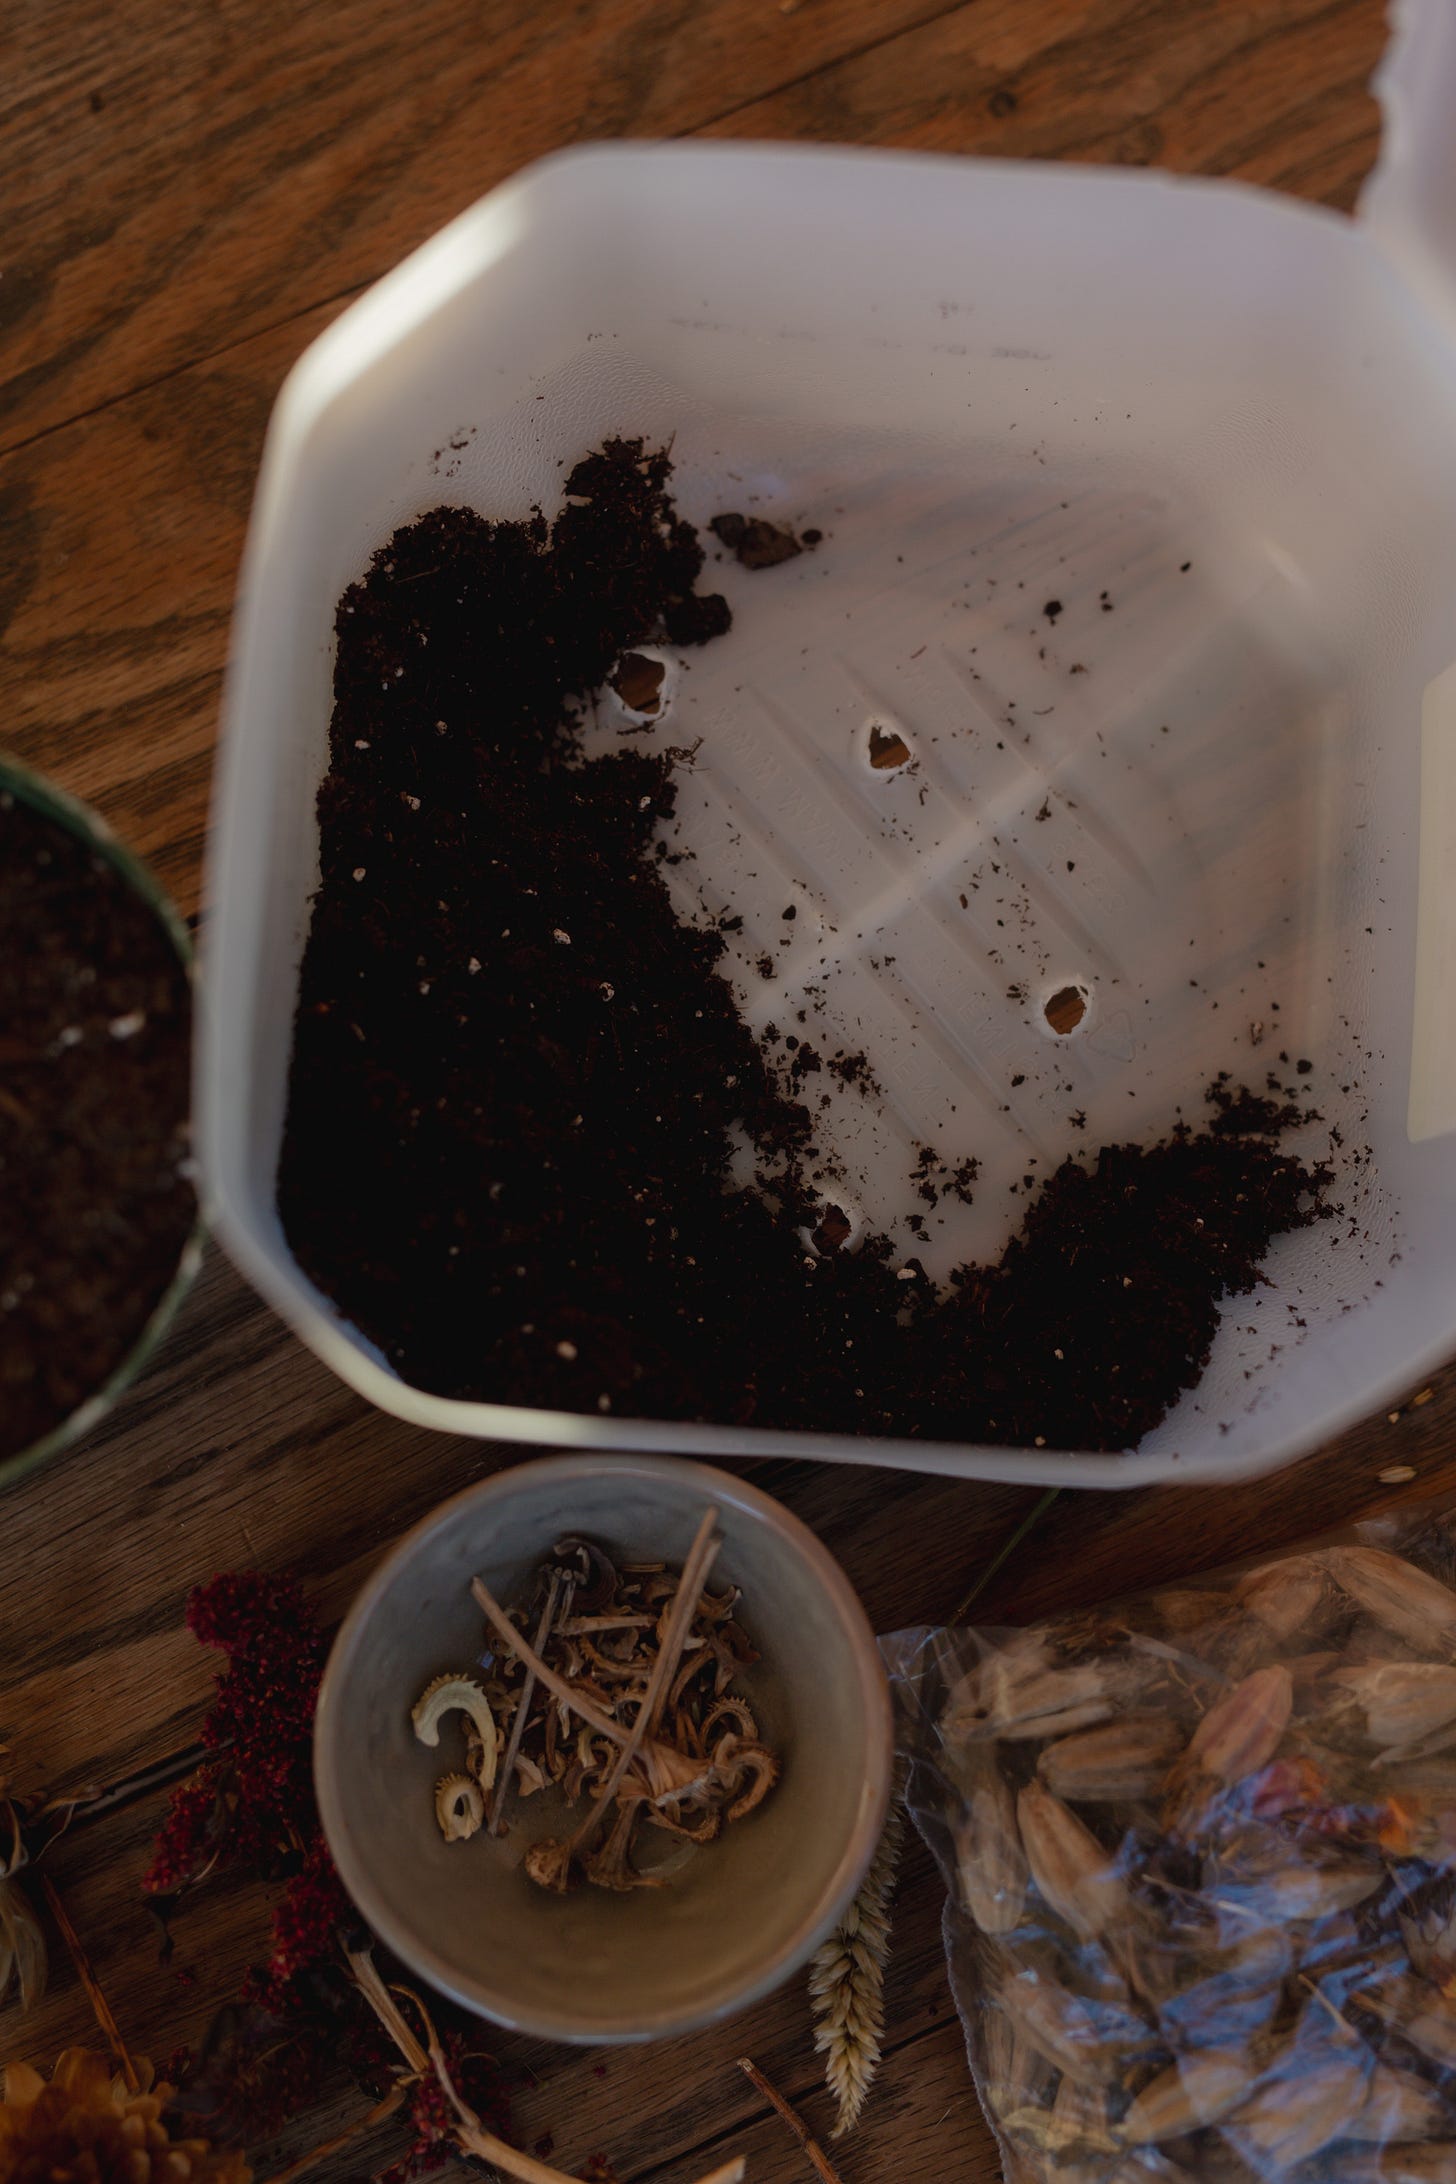
Add 5-8 drainage holes to the base of your jug.
Cut the jug horizontally just below the bottom of the handle. The goal is for there to be enough space to accommodate about 4 inches of soil. This allows the perfect amount of room for both root and foliage growth. Cut just enough distance around so that the handle is still attached and the lid will open and close with ease.
Dampen soil
If you haven’t already, add water to your allotted potting mix and stir so that the soil becomes thoroughly damp. The soil should hold its shape when lightly compressed, but should not be dripping wet.
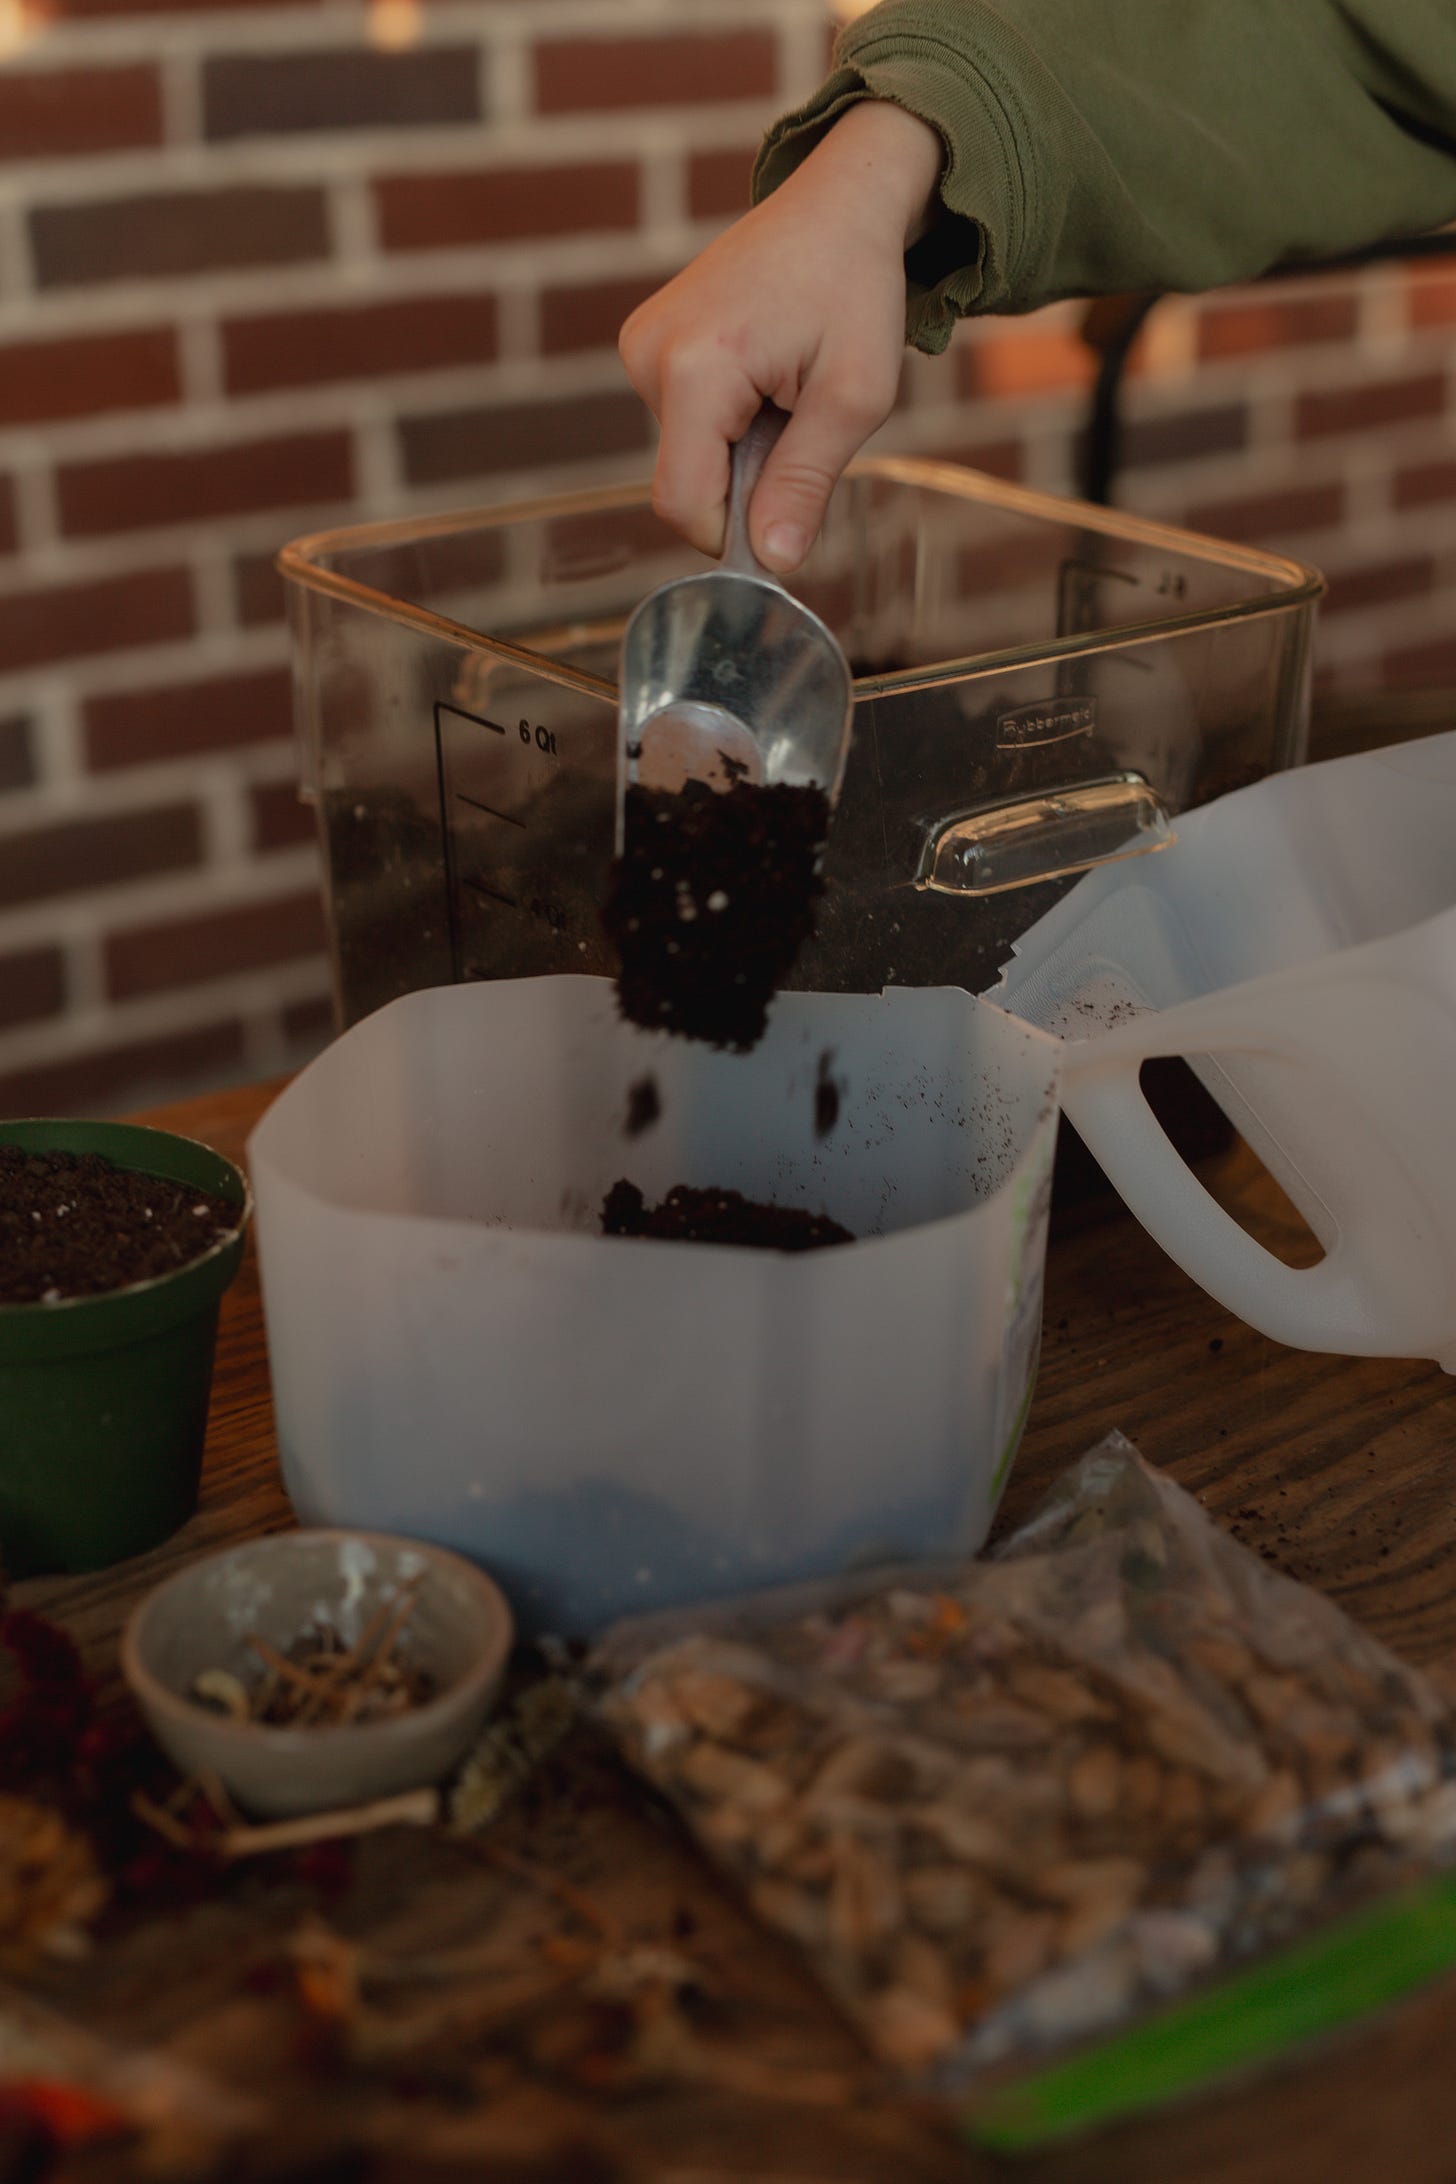
Fill jugs with soil
Start by filling your jugs with about 4 inches of moistened potting mix.
Add seeds
The main things to keep in mind at this step are how many seeds per jug and how deep to sow them.
How many seeds per jug
As for how many seeds to sow in each jug, the goal is finding that sweet spot of not over-seeding, but also having as many seedlings as you plan to use. Because sometimes not all seeds germinate, I like to over-seed, but not excessively. There really aren’t hard and fast rules as for how many seeds you should sow per jug, but there are some things to consider.
As a general rule, I like to limit each jug to no more than 20 seeds. There are certain things (like many vegetables and flowers) that I would only sow anywhere from 3-9 seeds per jug. My reasoning behind this is to avoid crowding and because of how many I plan to actually use. For seed packets that note a lower germination rate or older seeds, I will add more seeds.
For some herbs and flowers, I will sprinkle generously over the surface of the soil. I will then either thin later or transplant in chunks
How deep to sow seeds
As for how deep to sow your seeds, you can certainly follow the packet guidelines, however, because the seeds will be in an enclosed moist space that critters and the elements wont be able to disturb, these guidelines don’t always apply to winter sowing.
For most tiny seeds (that more closely resemble dust than a seed), all you’ll need to do is sprinkle the seeds over the soil and make sure they are very moist before sealing the jug. Larger seeds can be sown a bit deeper—but I usually don’t go any deeper than the size of the seed itself. Some seeds do require light to germinate—these tend to be smaller seeds, and it is best to surface sow these. Others require a period of complete darkness in order to germinate and really do need to be buried. For best results, becoming familiar with seed-specific sowing information is still recommended with winter sowing.
Moisten surface
Finish with a final application of water. A spray bottle is an efficient and tidy way of adding that last bit of moisture before sealing the jug. The goal is to get the top layer of soil and seeds thoroughly moistened, but your container should not be pooling with water.
Tape the jug
Be sure not to leave any cracks around the cut areas to achieve that greenhouse effect. Remove the cap if you haven’t already.
Label the jug
Implementing a consistent labeling system makes for a smooth transplanting process in the spring.
Set the completed jug outside
It is important to get your jugs outside immediately after assembling them. From here out, they should remain in their designated growing area until it’s time to transplant. Be sure to set them in a place that gets direct sunlight and is also protected from heavy winds to avoid the jugs blowing over or drying out. I like to keep all of my jugs tightly packed together in a raised bed. PVC pipe or garden sticks can be run through the handles to keep them from blowing away if they are in an open area.
Is that really all there is to it?
Technically, at this point, you can go back inside and start daydreaming about your garden (this usually leads to more winter sowing). For a period of time, once your jugs have been sown with seed, winter sowing is very hands off. However, winter sowing isn’t really a set and forget method. There are two reasons you’ll want to monitor your jugs.
As temperatures begin to rise, you will want to monitor for any signs that germination has occurred. Keep in mind that inside the jug is a micro-climate that is much warmer than the outside air. In direct sun, the inside temperature can get upwards of 10-30 degrees warmer than outside temperatures—which is why you’ll see your seeds germinating and putting off significant growth several weeks before your last frost date. When you do find that seed sprouting has occurred, soil moisture becomes very important. For the most part, snow and rain will take care of the watering. But there are times where precipitation is scarce after seeds germinate and you need to ensure that the soil is appropriately moist in order to support a young seedling and continue that greenhouse effect.
A few questions to ask in order to determine if your jug needs water: Is the jug light when you pick it up? If so, it needs water. Does the surface look dry? If so, it needs water. Is condensation forming on the sides of the jug? If not, it needs water.
Top watering with a spray bottle is an option but is not always the most efficient way to water. An easy and effective way to water your jugs is to fill a large tub or small pool with a few inches of water and set them in to soak and absorb that water from the base.
The other time to check in with your jugs is on especially cold nights after seeds for frost sensitive plants have sprouted. A simple tried and true method for protecting those young seedlings on especially cold nights, is to make sure they are watered well and covered with a blanket until the sun can continue its warming effect in the morning. This concern really only comes into play on nights that are expected to reach below freezing temperatures for several hours throughout the night. Seedlings that are not tolerant to frost run the risk of being damaged or dying on these nights. Most hardy seedlings will not need to be protected unless there is a hard freeze expected for several hours throughout the night.
When to start winter sowing
There are two main windows for winter sowing:
When the weather in your area becomes consistently cold
4-8 weeks before your last frost date
When the weather in your area becomes consistently cold
This window is for anything requiring cold stratification (like native plants and perennials) followed by cool season vegetables and herbs, and hardy annuals.
This window extends to the start of the second window, and many seeds from this window can still continue to be winter sown at the start of the second window.
4-8 weeks before your last frost date
The start of this window (8-10 weeks before the last frost) is for starting your fast growing cool season vegetables and hardy annuals. In this window, winter sowing also begins to shift more exclusively to sowing tender annuals; anything that is frost sensitive. This will include sowing things for your warm season flower, vegetable, and herb gardens.
Want to learn more? Have questions? Join my winter sowing group on Facebook!


Started following you because of the Facebook group! I'm a fellow Winter Sower and I love how accessible and simple you make the info for others. I've found that "expert" gardeners sometimes gate keep gardening strategies and info to appear more elevated than others and it makes it inaccessible for beginners who don't yet know the lingo and methods. You do an amazing job at keeping it straightforward and to simple to understand. I'll 100% be recommending your WS posts to my clients/friends that are learning about WS. :)
This is so helpful! I’ve only just heard of this process, & having your guide has answered almost all my questions!